


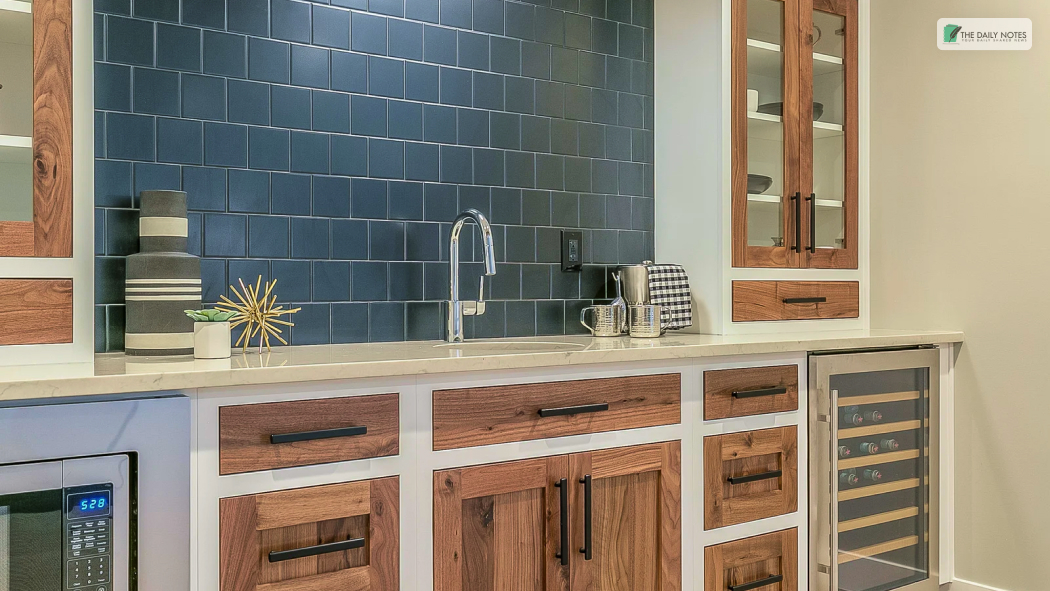
The kitchen is in the heart of your home, a room where delicious memories are made. Since the kitchen is the most used room in the house, it should be a pleasing space to spend time in. So, let’s see if installing a backsplash in the kitchen will make a difference!
Most modern homeowners can’t deny the crucial importance of the kitchen backsplash. A backsplash can give your kitchen a more personalized style, and it also plays the role of protecting your walls from everyday spills and splashes.
When choosing a kitchen backsplash, get one you’ll love to see daily.
Things to Consider When Installing a Backsplash in a Kitchen
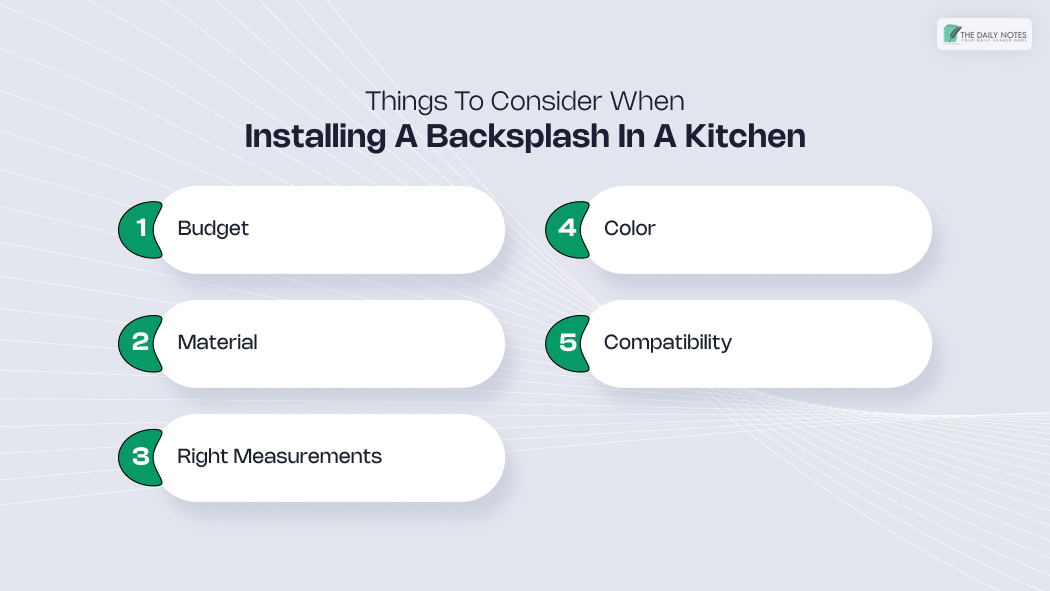
Here are a few things you need to consider as you buy tiles for your backsplash:
1. Budget
There is a wide variety of kitchen tiles, and they vary in price, too. It will be imperative to lay down a budget before deciding the type of tiles you want to buy.
If you opt for the Unique mosaic stone or glass tiles, you will be forced to dig deeper into your pocket than purchasing the standard ceramic or porcelain.
2. Material
Tiles come in different materials. You can choose tiles that add character to your kitchen space depending on your style and preference. However, most homeowners prefer ceramic tiles because they are easily clean and repairable.
Natural Stone, glass, and porcelain are some of the few materials available when installing a backsplash in a kitchen.
3. Right Measurements
Knowing your kitchen’s backsplash size can help in the buying process. It may be an inconvenience to overspend or underspend on your kitchen tiles.
Before you head out to the stores, keep the size in mind for a perfect fill.
4. Color
Lighter tile shades can make a kitchen look more spacious. However, darker colors give a more welcoming feeling. Ensure your kitchen’s natural lighting is enough to allow for dark tiles to create a striking balance.
A more neutral look would be ideal for those unsure which shade works best for their kitchen spaces.
5. Compatibility
The kitchen’s overall look should blend in perfectly. If you keep your kitchen’s general design in mind, you will get tiles well-matched with your shelves/cabinets, countertops, or fixtures.
If your countertop has patterns and colors, the backsplash should have a neutral look, not a patterned one. Your backsplash should never compete with your kitchen countertop; it should complement it.
Consider these helpful tips when shopping for your kitchen tiles and get nothing but the most appealing look.
How to DIY: Installing a Backsplash in a Kitchen
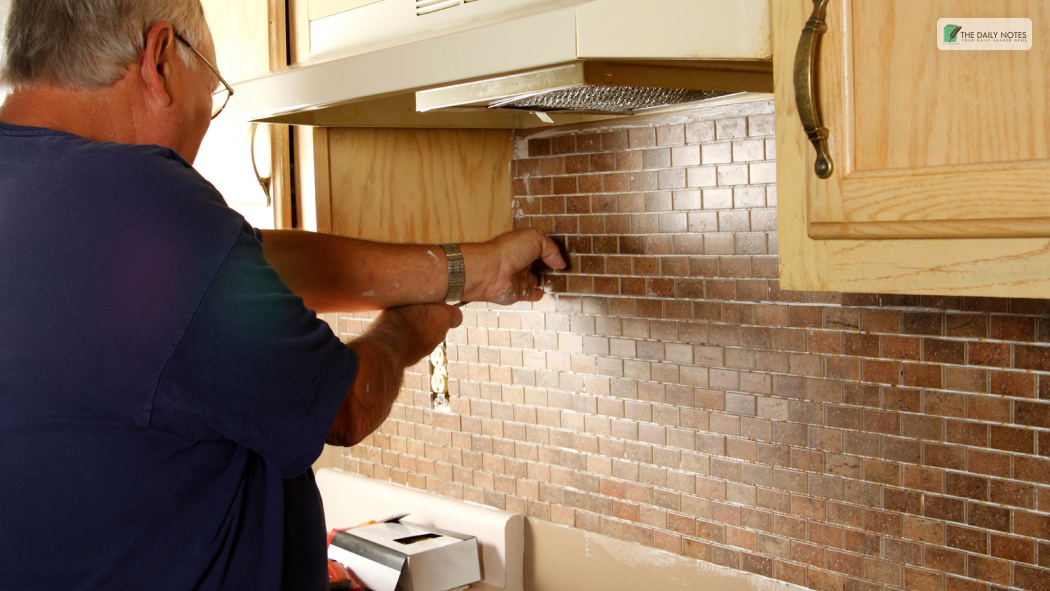
If you want to upgrade your kitchen with the latest backsplash styles, you can get a professional to do the installation or do it yourself. If you plan on a DIY approach, you need a step-by-step explanation.
This will guide you in properly fitting your tiles to achieve the best results.
Whenever your loved ones walk into your kitchen, they won’t help but fall in love with your custom backsplash.
Supplies You Will Need:
- Floor tiles
- Wall tile mastic
- Tape measure
- Grout
- Pencil
- Dry tile cutter
- Notched trowel
- Wide putty knife
- Tile float or Squeegee
- Sponge
- Pumice stone or sandpaper
- Tile spacer
Now that you have the materials, let’s look at the steps:
Step 1
Mark the center of the wall by measuring the distance between the bottom of the cabinet and the countertop. Subtract ¼ inch for the bottom grout line and mark a tile with the measurement.
Step 2
Using a dry tile cutter, cut the tiles to size by setting them in the cutter and adjusting them as per the desired measurement. The tile cutter will score the tile first and press the bar down to help snap the tile at the score line.
Next, ensure you have some extra tiles to help in case of mistakes. Check the size against the wall and sand any rough edges with sandpaper or pumice stone.
Step 3
Start at the center and use a putty knife to apply enough tile mastic that helps one tile to stick to the wall. Texture the mastic with a notched trowel and create a proper surface for adhesion. Next, set the tiles into place and move them around slightly to adjust before they are set in the final position.
You should continue working in each direction using tile spacers between the tiles along the bottom for the grout lines.
Step 4
Leave the arrangement overnight to cure (set) and remove the tile spacers. Next, mix the grout as directed and use a tile float or a squeegee to fill the gaps around the tiles. Next, leave it all to dry overnight and remove any excess with the help of a sponge and water.
You can add caulk after this step to ensure the gaps, cracks, or joints are sealed to avoid cracks. Add a bead of caulk on the bottom seam where the tile meets the countertop. You can smooth it out by wetting your finger and dragging it continuously for proper sealing.
That concludes the DIY process of installing a backsplash in a kitchen. Follow these steps to give your kitchen a new look.
And It’s A Wrap!
That was all on installing a backsplash in a kitchen and the steps to help you do it yourself with basic materials. These materials can easily be found in stores near you, or you can order them online.
It is very easy to install a backsplash on your own without the help of a professional. But, if you are unsure, you may opt to do it yourself and still have a near-perfect finish.
And hey, practice makes perfect, so maybe the next time you change the backsplash, you’ll have a better idea of how to nail it!
Follow the DIY guide to take up a home renovation project that saves you extra cash, too! In the comments, which tile pattern did you choose for this backsplash?
Read Also: