


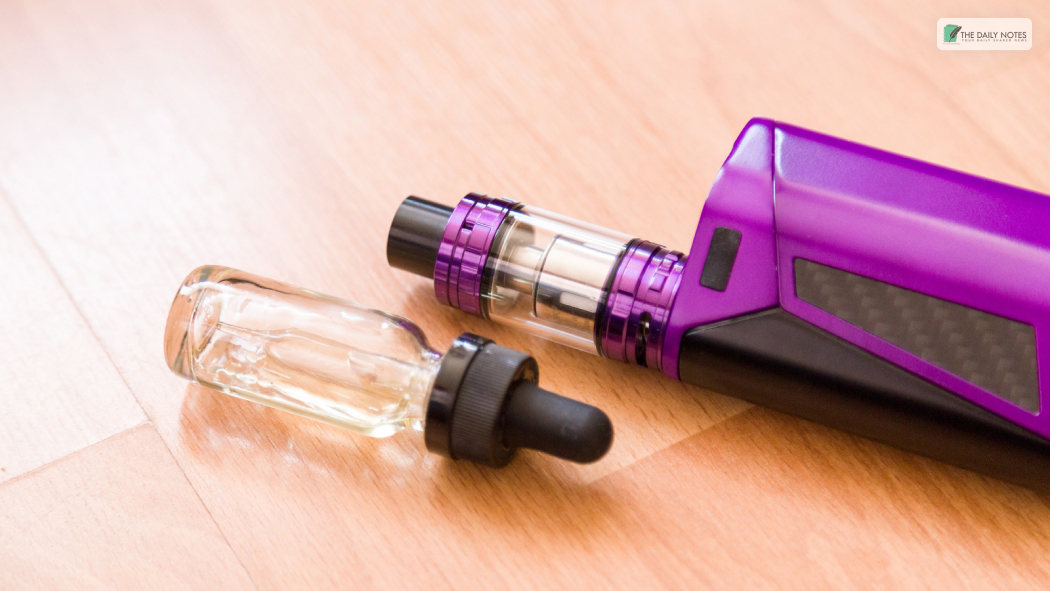
The meaning of the term Vape Juice is quite simple: it’s the extract of vapors created from plant Vaporizers. The extract is usually extracted in a heat source, such as a microwave, or by pressurized steam. Wax liquidizer is also quite popular.
However, in this article, we will concentrate on the method of the extract without a heat source.
This article is aimed at helping people who are interested in learning how to make their very own Vape Juice or even making it available for public consumption.
We hope the following sections will help enrich your experience of using a wax liquidizer.
Wax Liquidizer | Is it Safe to Use?
Wax liquidizer is a PG-based proprietary mix that includes PEG200, PG, and PEG400. These are all recognized as safe ingredients by the FDA, which makes them safe to use.
You may wonder if the wax liquidizer goes on forever, seeing how the commercial vape juices cost an arm and a leg! Wax liquidizer can help you enjoy vaping if you use it within two years of manufacturing.
Check the shelf life to ensure you are not wasting any precious material.
This is crucial when considering the time you need to open the wax liquidizer and terpenes. Without storing them properly, they can go wrong.
How to Use Wax Liquidizer to Make Your Vape Juice!
Using a wax liquidizer can be intimidating the first time around. The following steps will help you make your own vape juice. Check out the following list:
Some vaporizers can only be heated using a microwave
You will need the following materials:
- NFused glass jar
- An NFused sugar bowl
- NFused electric bottle opener
- An NFused rubber ring
- NFused measuring cup
- An FDA-approved food seal
- A heat-resistant non-stick mixing bowl set
Your first step is to consider your heating source. Some vaporizers only heat up with a microwave, while others may be heated using the stovetop.
You must also consider where your bottle will go inside your glass jar. If you are using a glass jar, you must ensure it will fit securely into it. It may be best to place it in a pan of hot water to ensure it is fully submerged in the water.
If using a stainless-steel bottle, you will need to ensure that it fits perfectly into the jar.
You can begin once these items are ready. Place all your ingredients into your mixing bowl and stir them together. Do this until the ingredients thoroughly blend.
When done with this step, remove the NFused material immediately. Then, place it in the heatproof bowl on top of your NFused plant matter. Place the cannabis in the bottom of the NFused material and the sugar into the top of the cannabis.
Place it in!
When this is done, put the NFused material into the heating material and put it in your Ziploc bag. You will then place your freshly mixed wax liquidizer into your pre-soaked glass jars.
Ensure you have placed your NFused active ingredient into the glass jars before you seal them. This is because the heat from your Ziploc bag will melt the NFused into the wax liquidizer.
Allow your jars to sit for about four to five hours, and then wash them with warm water.
To create your own NFused, you will need to remove your active ingredient from the liquidizer. Your nicotine-free juice will be produced if you place your cannabis in a glass jar with your NFused wax in the bottom.
Your NFused should have been sitting for at least three weeks prior to the start of your Vapes. Once your NFused has been formed, place it into the pre-soaked glass jars and put it into your Ziploc bags.
How to form Your Own Cannabis-NFused Mix
The process of forming your own cannabis into NFused will be a bit different than producing regular cannabis. Here are the steps:
- First, you will want to cut your cannabis into quarter-inch pieces.
- Next, you will want to crush it up using a mortar and pestle.
- Once you have done this, you will want to wrap it individually with parchment paper.
- Do not forget to place parchment paper over the glass jar to keep the NFused from evaporating into the air.
- If you do not do this, your NFused will be solid, and it will not have the same potency as homemade cannabis.
- You will know when your NFused is ready to use by looking for two evident and distinct stains on the glass.
- These two colors will be the resins that were sealing the NFused, helping it work properly.
This is how to make vaporized juice with a wax liquidizer that tastes good. If you do not see these two colors on your NFused, then you may have already created a bad thing with the amount of heat the glass was subjected to while being melted.
Try Your Best Not to Overheat Your Glass
Now that you know how to make vaporized juice with wax liquidizer, you can start experimenting. Use different varieties of strains and types of fruits. There is no end to the varieties of fruits you can grow or experiment with.
You will also be able to get much more out of your NFused if you try different fruit varieties. Experimenting is half the fun of learning how to make juice with wax liquidizer.
Read Also: